NSPS-855_A麗しき人妻前田可奈子LASTPart1第01集24-05-12
VOV-045終電逃した女子を即ナンお持ち帰りvol第04集24-05-12
VOV-045終電逃した女子を即ナンお持ち帰りvol第03集24-05-12
VOV-045終電逃した女子を即ナンお持ち帰りvol第02集24-05-12
VOV-045終電逃した女子を即ナンお持ち帰りvol第01集24-05-12
TLZ-09並木塔子のレナン第06集24-05-12
TLZ-09並木塔子のレナン第05集24-05-12
NGOD-113ねっとり乳揉み痴漢で堕ちていく巨乳女教師NTR若月みいな第07集24-05-12
TLZ-09並木塔子のレナン第03集24-05-12
NSPS-855_A麗しき人妻前田可奈子LASTPart1第02集24-05-12
NASS-844こんな田舎でおばさんナンしてどうするの?平凡な毎日で男を忘れた熟女でも旅先で見知らぬ男に声を掛けられたら…24-05-12
TLZ-09並木塔子のレナン第01集24-05-12
TLZ-09並木塔子のレナン第02集24-05-12
NGOD-113ねっとり乳揉み痴漢で堕ちていく巨乳女教師NTR若月みいな第02集24-05-12
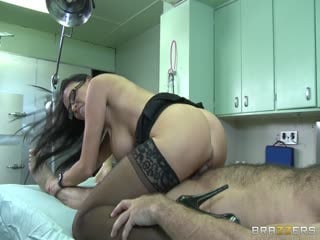
公鸡治疗-da_vanilla_deville_v2_720p_80第01集24-05-12